Monday, February 28, 2011

Spicy Lentil Burrito ~ Recipe

Lentil Quesadilla

I've had a bag of lentils in my pantry for quite some time just waiting to be used in something yummy for dinner and when my friend Debbie had mentioned she was making lentil sloppy joes I just had to make something with them *grin*.
Out came some walla walla onion, fresh garlic, garlic chile spice, cumin,
some olive oil for frying and things started smelling mighty good! I added in some lentils and water, simmered until tender and thickened and I had some super tasty lentils for my burritos.

Okay so here's the specifics:

1 cup of finely diced walla walla or other sweet onion
3 cloves of fresh garlic, pressed
1 - 2 tsp. garlic chile paste
2 tsp. cumin
sea salt to taste
a splash of olive oil

Fry all of the above ingredients in a large sauce pan until your garlic is translucent and just tender and add:

2 cups of green lentils (rinsed well in cool water)
6 cups of water

Bring your pot of lentils and water to a rapid boil and then reduce heat to a gentle simmer and cover. Cook for approximately one hour or until tender and they have taken on a nice thick consistency.

Lentil Quesadilla

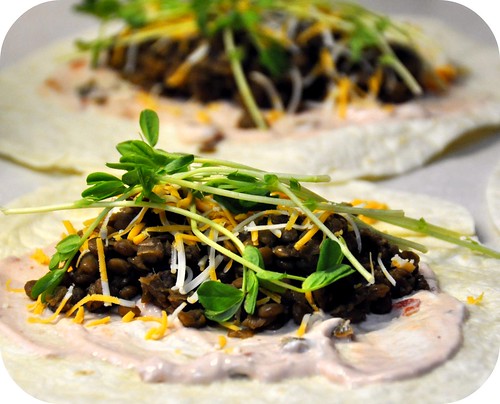
With your lentils all ready to rock and roll, grab your tortillas and spread a bit of salsa and sour cream in the center, top with some of your cooked lentils, a sprinkle of cheese and we're seriously addicted to pea shoots so we added them to ours as well. You could add guacamole, shredded lettuce, sliced peppers or tomatoes to!

Wrap up your tortilla like a burrito by pulling in the bottom and top sides of your tortilla towards the center of your lentils and then turning the whole thing 180 degrees and rolling it again away from you so that those tucked sides you did first create a nice little pocket to hold all your lentil yumminess in place :)

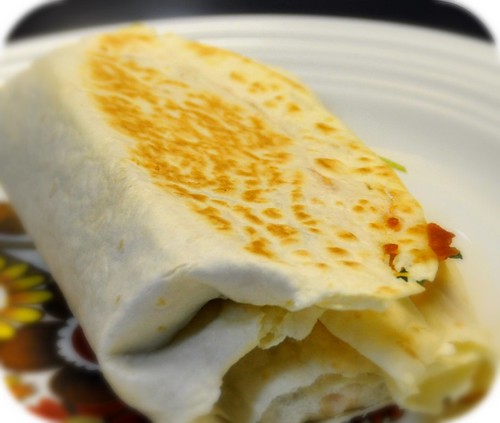
Sometimes I find that it's a little hard for the kids to keep their burritos all together while they're eating them without having one of the sides pop open and some of the filling slipping out so this time I thought I'd pan fry and use some of the melted cheese like a glue to hold it all together!

Heat your frying pan on medium high heat and place one of your burritos in the pan, flipping to the other side when ready. The high heat will brown it up quite quickly melting the cheese and crisping up the outer skin just perfect for little hands :)

We LOVED these and the filling made enough for leftovers which made a perfect lunch the following day :)

Enjoy!
Rosina

PS. Looking for more yummy recipes?? Check out this week's Hearth and Soul blog hop :)

Sunday, February 27, 2011

Sunday Drive

Check Point

Today on a quick trip to the little corner store down the road from our home, Hubby and I decided to take the kids a little deeper into the woods to enjoy the snow and hopefully spot some wildlife :)
I love these old signs. They haven't changed since I was a young girl riding along in the logging trucks up and down the mountainsides with some of the fellows from camp that my dad was friends with :)
Sunday Driving

As we went further the forest got thicker and the snow deeper.

Mountainside

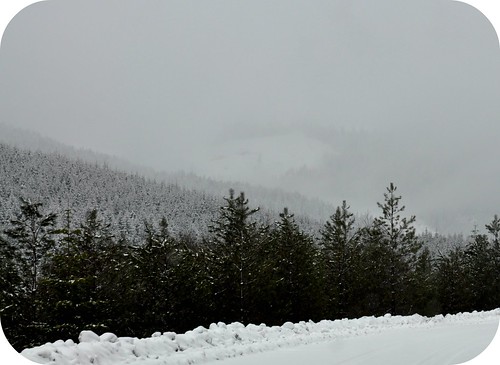
Fog and clouds enclosed the distant mountains as the snow started to fall. You can just make out the larger mountain in the background :)
Wall of Ice

Beautiful sheets of ice encased the sides of the rock faces where water had previously been running but was now frozen solid.

Keta Lake

Our favorite trout fishing lake covered in a layer of ice and snow.

Bones

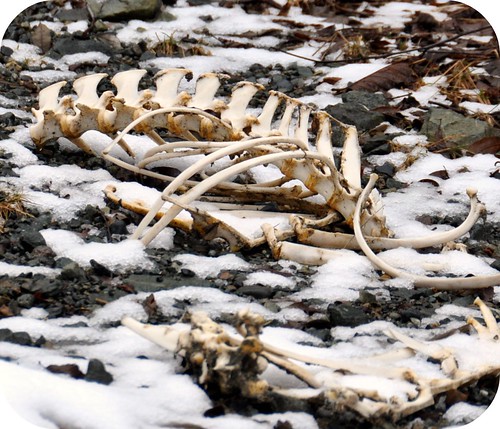
And unfortunately the only wildlife that we were able to find were these bones from a predators meals. Not exactly what I had in mind when I went searching for deer and cougar *grin*.

Happy Sunday everyone :)

Hugs,
Rosina

Friday, February 25, 2011

{this moment} Waiting To Wave To Daddy

From Soulemama ~ {this moment} - A Friday ritual. A single photo - no words - capturing a moment from the week. A simple, special, extraordinary moment. A moment I want to pause, savor and remember.

Waiting for Daddy

Thursday, February 24, 2011

Spring Chicks

Wet Felting

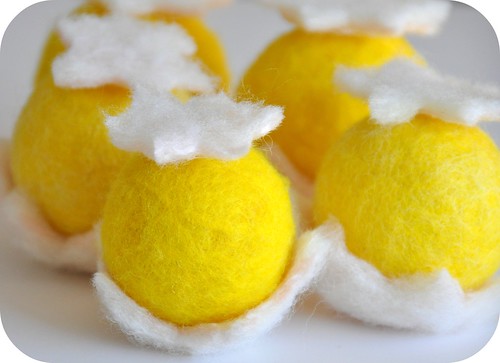
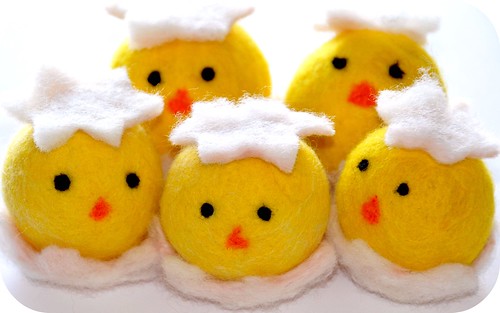
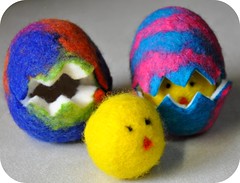
I am moving full steam ahead into spring and surrounding myself with cheery colors and springy items like these little chicks I've been making *grin*.

I had some old sheep's fleece in my craft cupboard that hadn't been carded so I lugged out my big drum carder and cleaned it up nicely to use as the centers of my chicks. I just couldn't bear to use all of my new pretty yellow wool rovings to make them so I wound a tight ball using the natural cream fleece (sorry I can't remember what kind it is) and then just wrapped enough of my yellow corriedale roving around to cover the white and then wet felted them.

Spring Chicks

I'm really pleased with how the yellow balls turned out :) I was afraid that the yellow would slip on the white as I started to lather and rub it around creating bald spots showing through but I made sure I was extra gentle and it blended together beautifully. For the bottom of the egg shell I used an old plastic easter egg as my form and worked the wool over top of it so that it formed a nice concave shape for the chick bodies to sit in and I trimmed up the edges once they were dry so that they looked like that had been cracked open *grin*.

I was at a bit of a loss though when it came to how to felt a sheet of wool that I could cut out shapes from for the tops of the chick's heads as I've never tried doing it before. All I could think of was that I've seen others do it using bubble wrap or window screen and other similar things to keep the wool together while they agitated it but I didn't have any of that on hand. That was until I spied one of my reusable mesh produce bags! I loaded it up with enough wool roving to make a small 6 inch square, put it in the bottom of my sink on a cutting board and lathered it up and it worked! I think next time I'll work it a little bit longer to make sure it is a little more compact but it felted together enough to cut out little pieces to put on top of the chick's heads to look like bits of broken shell :)

What do you think? Do they look like they're popping out of their shells *grin*. My oldest was giving me a bit of a hard time before I put their eyes and beaks on because he said they looked like tennis balls with stars on their heads LOL.

Hugs,
Rosina


PS. Looking for more crafty ideas or inspiration? Pop over to Natural Suburbia's Creative Friday and see what others are up to :)

Wednesday, February 23, 2011

right now, I AM

Love that new book smell :)

....inhaling that new book smell :)

Is it ever to early to think about new school books?? Apparently my 12 year old thinks it is LOL. I've been saving my money since last September and early last week I put in my yearly curriculum order with Sonlight. This fall we'll be starting grade 7 and normally when the new catalogue comes out there's always a handful of items that have increased in price so I'm beating them to the punch and buying them now :)

So many good books this year! January and February always seem to be the months when I sort of feel tired with what we're doing and having all these new novels is really going to spur me on to finish up this year by the end of May. Plus I really want to read some Charles Dickens with him. Maybe I'll have to pack some of them along when we go camping this summer *grin*. I just won't tell him they are school related *wink*.

Hugs,
Rosina


right now I AM

Click the frog to learn more!

Tuesday, February 22, 2011

Yarn Along

A post of my current read and what is cast on my needles ~ Inspired by Ginny over at {Small Things}

Mouse Eating Snake

Oh my goodness, I love this guy!!
I promised I'd share more about my little mouse gobbling snake I made for my little guy and here he is :) I was searching for the perfect gift for the perfect little boy project when I found the Sleepy Snake and Mischievous Mouse pattern. I was smitten with it immediately *grin*. The photo was enough to make me want one and I new he was going to love it to :)

Snake innards

This pattern is super easy!
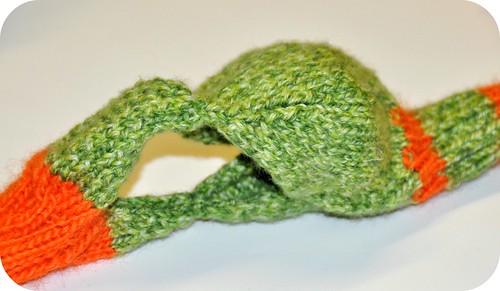
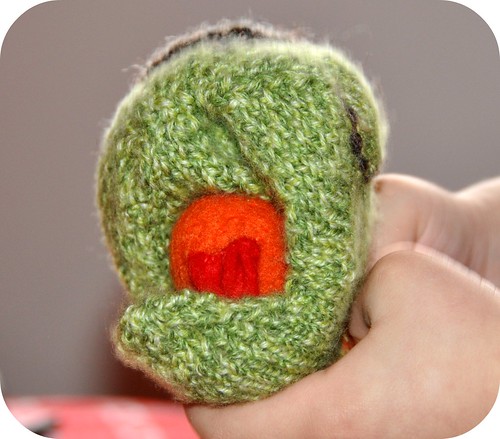
Everything except for the head is knit in the round on DPN's and is just a simple knit 2, purl 2, ribbed pattern and once you get to the head it switches to straight needles. You do have to drop a few stitches on a spare needle while you work the top of the jaw but you pick them back up again to work the bottom and then they carry right on through to the inside of the snakes head and body.

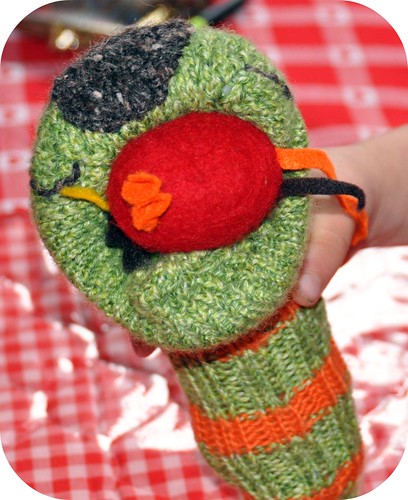
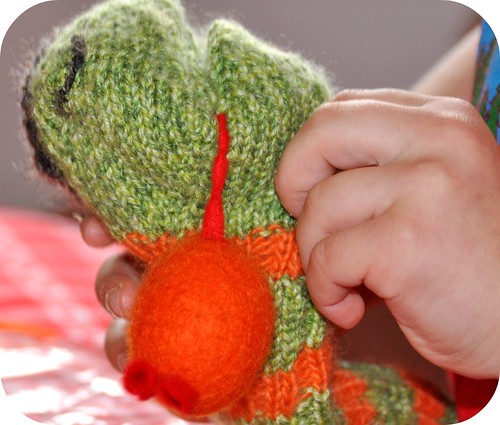
Through some very creative adding of extra stitches you make a smaller version of the head and another ribbed length of the body that slips right inside the main snakes body. This creates the stomach and a hollow space in the head that allows you to stuff it with a bit of cotton batting for a super cute fluffy head! You've got to love his toupée to *grin*. The hair piece is an additional little knit piece that you make and then I just whip stitched it onto the snakes head, adding his sleepy eyes while I was at it :)

Mice Lumps

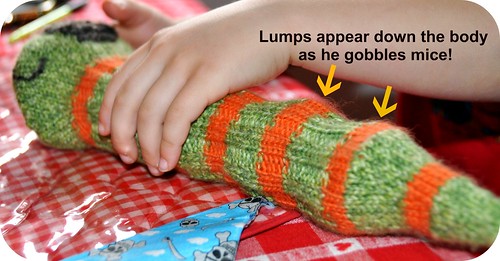
Once he's finished you can feed your snakey mice and his body lumps up all the way down the length just like in the above photo just like it would in real life when a snake eats. There is a pattern included to knit up mice but I decided to wet felt some little colorful mice and they were perfect :)

So much fun is being had eating and spitting out mice *grin*. This is going to keep him entertained for a good long while!

Oh and I'm still reading the The Happiness Project by Gretchen Rubin *grin*. Not getting very far on the book reading this week :)

Hugs,
Rosina

Monday, February 21, 2011

Happy 5th Birthday

Happy 5th Birthday

Yesterday my baby turned five... born in a snowstorm in 2006 and got his wish of having his fifth birthday in a snowstorm *grin*. All he really wanted was for it to snow on his birthday :)

Snakey

I wish you could have seen the big ear to ear smile on his face when he pulled out 'snakey' from its wrapping paper :)

Snakey

It was an instant hit as he started stuffing little felted mice into the snake's mouth and working them down the knitted body including munching sound effects...

Snakey

followed by regurgitating noises as they all started to pop back out! It went totally crazy after that as the whoopie cushion was pulled and the snake had some bad indigestion resulting in very loud gas. LOL.

Boys... heehee.

Guarding the Gate

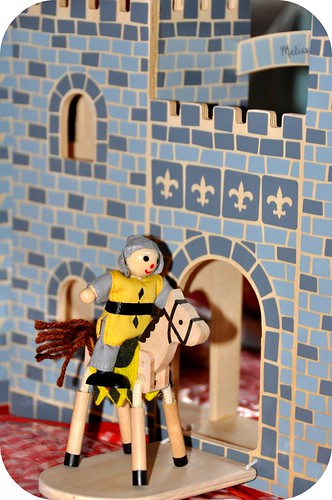
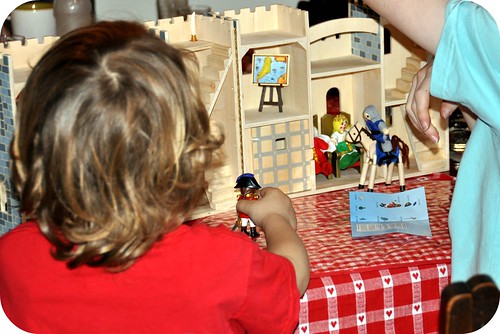
He also got a wooden play castle with a few wooden knights and horses, a king and queen...

Castle Play

and it opens up wide so that it creates a great little play place inside with a dungeon and more :)

Thomas Birthday Cake

We wrapped up our little birthday party with a Thomas the train cake. His favorite :) Now if only I could bottle him up and he would stay 5 forever *grin*. I'm running out of babies!

Hugs,
Rosina

Sunday, February 20, 2011

Wet Felting Mice

Wet felting

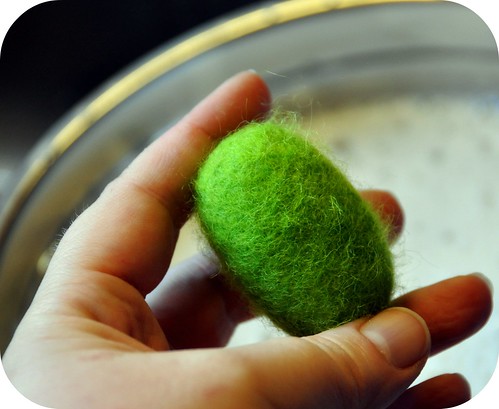
That scrumptious box of wool rovings I received the other day couldn't have come at a better time! Last night I stood at the sink with the brightest of the colors and worked at felting them into little mice shaped bodies for the mouse eating snake I've been knitting for my little guys 5th birthday :)

Wet felting

I love wet felting :)
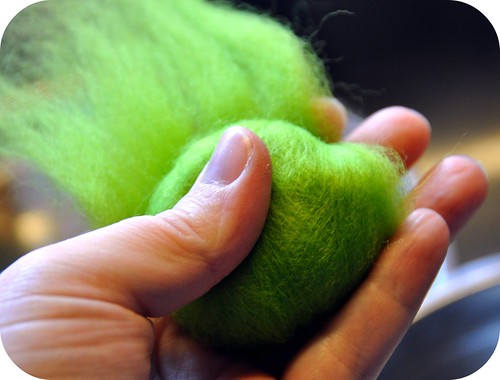
It's such a simple and relaxing task as you gently rub the wool round and round. I think the wool must have acted like a bit of an exfoliator to because my hands are as soft as a babies bottom today *grin*.

Wet felting Mice

One by one the little mice bodies took form...

Mice

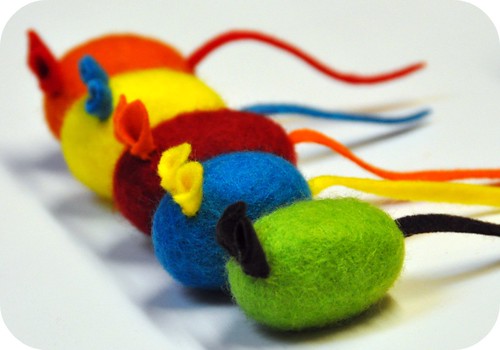
and just before bed I stitched on little tucked ears and long tails :) Oh my goodness are they so stinking cute! Hubby thought I was a little strange as I perfected each little ear and giggled at their cute little bodies but I know they are going to be a HUGE hit when he opens them up today :)

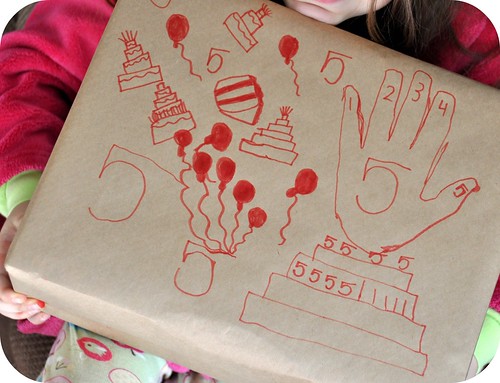
Homemade wrapping paper

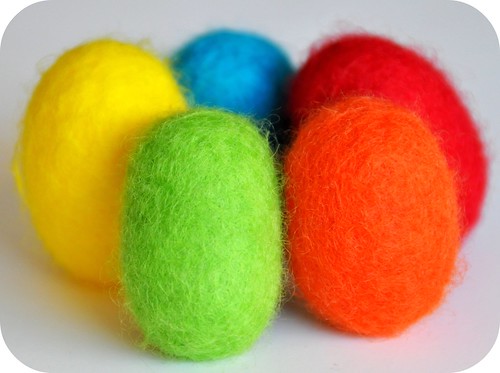
There's five little plump mice... perfect for a little boy who's turning five :)
I'll share more on the snake this week for the yarn along to! I'm off to work on his special birthday meal :)

Hugs,
Rosina

Friday, February 18, 2011

Snow & Snakes

Catching snow

Am I the only one that is surprised the we're nearly at the end of February? We're gearing up for our last winter birthday this sunday and all of a sudden it hit me that there are less than two weeks before we hit March. Holy batman!

Snake

We got dusted with a little more snow over the last couple of days and it's my little guys birthday wish to have enough snow when he turns 5 on Sunday to go sledding on *grin*

I'm not sure if I can guarantee that the snow will last as it seems to come and go so quickly these days but I'm working on knitting up an adorable little snake that eats felted mice! I found the pattern on ravelry and fell in love with it instantly. I know he is going to get the biggest kick out of it and I'm going to use some of the new felt rovings I got to make a colorful assortment of mice for his new snake to gobble up inside its knitted body *grin*.

I was trying to sneakily work on it in the truck today when we went into the city to pick up birthday supplies and run errands with Hubby but had to stop when I got to the head so that no one would guess what I was knitting. I had them going that I was making very skinny socks for a doll but that wasn't going to work for long LOL.

Hugs,
Rosina

Wednesday, February 16, 2011

right now, I AM

Smitten

.... smitten with my new wool rovings :)

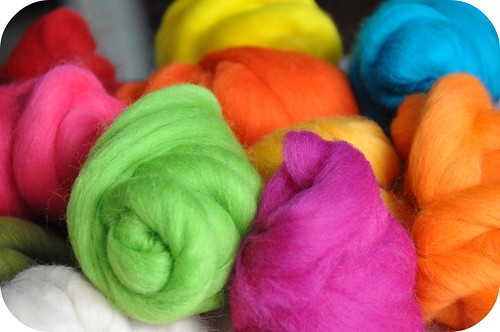
A splendid array of rainbow colors awaited me as I opened the large box full of wool. I've been dying to spoil myself and buy some rovings but it always seemed like by the time I picked out all the colors I wanted and tacked on shipping from far away places it was more than I wanted to spend. So when I met Natalie from Bear Dance Crafts through the yarn along and realized that she was right here in BC I could have done the happy dance *grin*.

I can see some wet felting and gnome making in my future :)

Hugs,
Rosina

right now I AM

Click the frog to learn more!

Tuesday, February 15, 2011

Yarn Along

A post of my current read and what is cast on my needles ~ Inspired by Ginny over at {Small Things}

Spring Chick

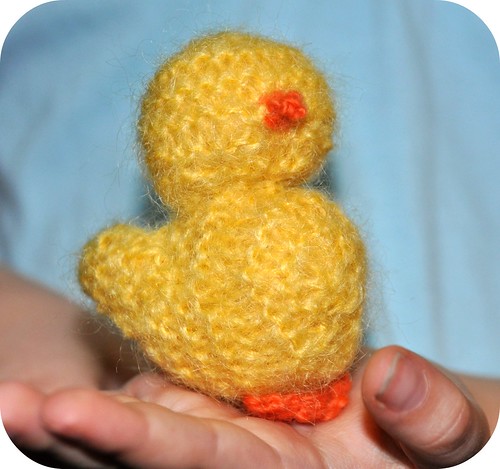
Well I still haven't decided on what big project I want to do next so in the meantime I'm having fun playing around and making spring chicks *grin*.

Spring Chick

I found the pattern on ravelry (linked above) and used a double strand of wonderfully fuzzy Mohair by Marks & Kattens which is very forgiving if you make any booboos as the fuzz really hides all *grin*. I love how it turned out and my youngest two couldn't stop petting it! They are convinced that I need to make many more of them so that I can tuck them into their Easter baskets :)

Looking forward to seeing what you have been knitting this week!
Oh, I nearly forgot to share what I am reading right now! I just picked up a copy of The Happiness Project by Gretchen Rubin. I'm barely into the first chapter but I'm really looking forward to reading about how she made her happy life even happier. Right now she's talking about getting more sleep so that she can have more energy to take on her project and that is definitely something I could use. I know I don't get near enough rest and if I take anything from her book it may be to just get to bed a couple of hours earlier each night so that I can wake up and really feel like I'm ready to tackle my day with a happy heart :)

Hugs,
Rosina

Monday, February 14, 2011

Happy Valentine's Day

Happy Valentine's day

Happy Valentine's Day!!

We celebrated valentine's day yesterday, a day earlier because my daughter had a date with the dentist again today. So we thought it best to have our party ahead of time so that she could really enjoy it :)

Yummy

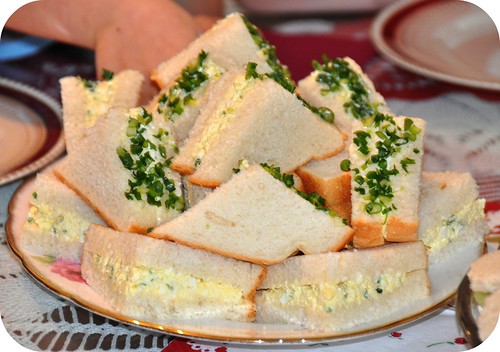
We had egg sandwiches and little cucumber and cream cheese tea sandwiches, asparagus rolls, ants on a log (the kids love these)....

Valentine Treats

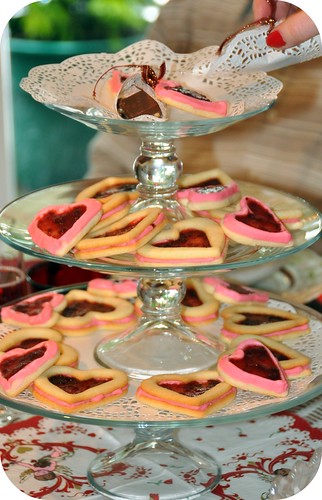
and of course loads of yummy sweets :)

Valentine Treats

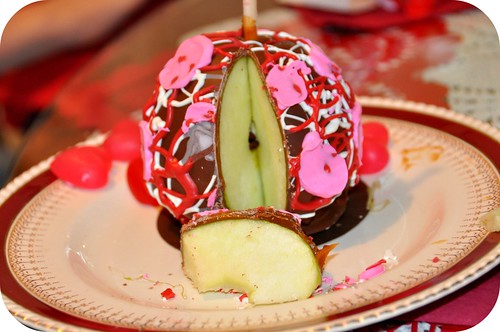
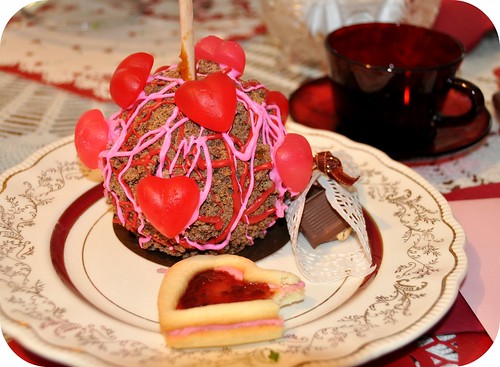
My special treat for the kids was one of the yummy-licious candy apples that the Rocky Mountain chocolate factory makes :) When we were in the city on Friday I took them all into the shop and let them stand in front of the giant glass case full of them and let them pick any one their hearts desired *grin*.

You should have seen them agonizing over which one looked like it was going to be the very best one to take home LOL.

Valentine Candy Apples

A sweet treat for such a sweet day :)

Hope you all had a wonderful valentine's day to :)

Hugs,
Rosina

Sunday, February 13, 2011

Nature Walk ~ Northeast Woods

King of the Castle

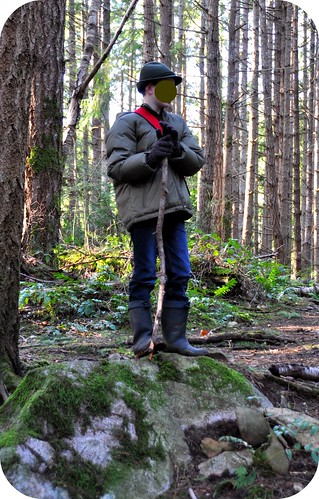
Mother nature provided another wonderful day for an outing with our Neighborwoodie friends this week as we ventured into the Northeast Woods :)

Northeast Forest

There were mountain bike jumps to be climbed, sticks to be collected, overly friendly dogs to be dodged and a lot of 'I'm the king of the castle and your the dirty rascal' songs to be sung.

The Lure of Mud

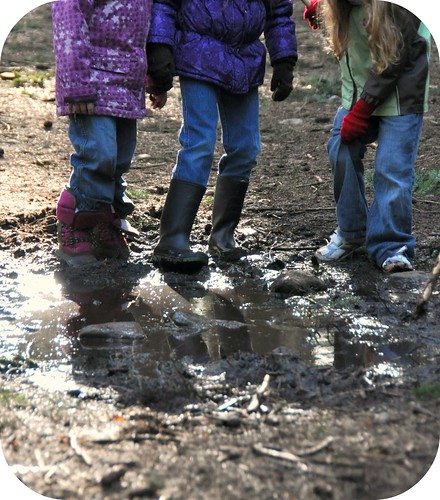
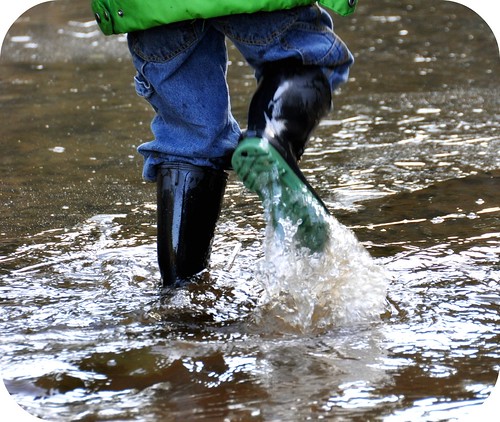
Of course there were the usual trail hazards to be navigated like this very tempting mud hole that begged for boots to be wiggled in....

Splashing

and an oversized mud puddle covered in a sheet of ice just perfect for some splish splashing *grin*.

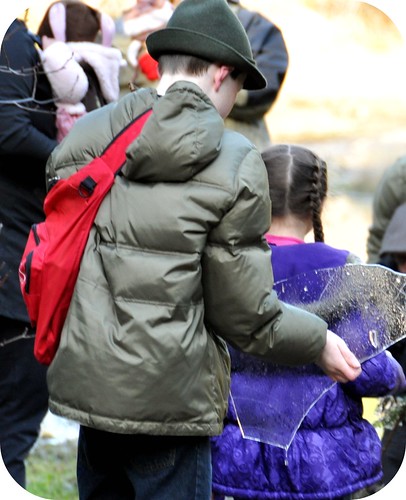
Carrying Ice

My oldest managed to salvage a large chunk of ice from the water before it was stomped on and broken into small bits...

Nature's windchime

and another girl found a tree branch with squares of ice frozen to different parts of the needles that clanged together as it was shaken about.

Mother nature's wind chime :)

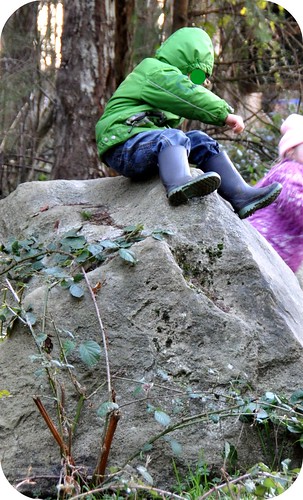
Rock Climbing

So much fun to be had in the forest :)

Hugs,
Rosina

Saturday, February 12, 2011

Valentine Sugar Cookies

Valentine Hearts

We're getting ready for Valentine's day and making special treats :)
We always make a heart shaped cookie for our party and this time we made sugar cookie sandwich hearts with a yummy jam center. So good! I only know this because there may have been a little bit of taste testing going on as they were being made *grin*.

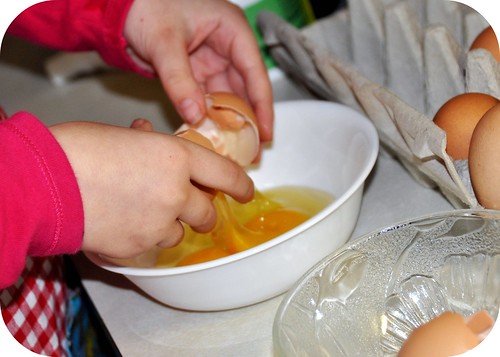
Let's Get Cracking

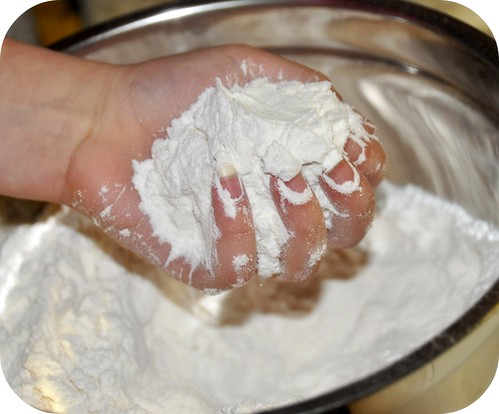
L was all ready to get down to business and had her new little apron that she made tied on and her hands washed even before I could ask her to do anything :) She loves to crack the eggs for me and run her hands through the flour *grin*.

Flour Fun

I used my favorite sugar cookie recipe but halved the batch this time so that we didn't end up with mountains of cookies. You will need:

3 eggs
1 cup sugar
1 cup unsalted butter
1 tsp. vanilla
1 tsp. baking powder
2 1/2 cups all purpose flour

Cream the sugar and butter together and add in your eggs and vanilla beating until everything is light and fluffy looking.

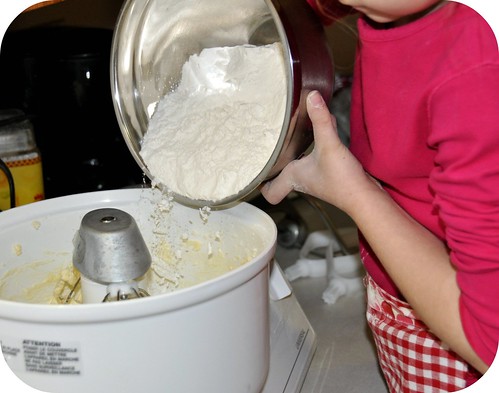
Making cookies

Add your flour and baking powder and mix until just combined. Turn out your dough onto a sheet of waxed paper and top with another sheet of wax paper so that you can press down on your dough flattening it out towards the perimeters of your paper and then place it your fridge to chill so that when you pull it out again it will be nice and easy to roll and cut out your hearts on :) Bake at 350 degrees Fahrenheit for about 8 - 10 minutes or until your cookies are just browning on the bottom edges.

Heart Cookies

We used two different sized heart cookie cutters to create the tops of the cookies and then we ran a line of icing around the edge of the bottom cookie to create an icing dam so that our plum jam wouldn't squeeze out when we sandwiched the two layers together :) I make my jam without pectin so they are always a little bit runny and the icing works perfectly to keep everything in it's place *grin*.

I had to hide them out in the garage tonight to keep the kids from asking for more and so that I wouldn't sneak into the kitchen and nibble on them for a midnight snack LOL. I have terribly weak will power!

Hugs,
Rosina